Successful Cob Pizza Oven Building on a Budget
Successful Cob Pizza Oven Building on a Budget
Jan 20, 2024
Building a cob pizza oven from scratch is a rewarding project that combines the art of natural building with the joy of creating delicious, wood-fired pizzas. With a bit of elbow grease and some simple materials, you can construct an efficient and budget-friendly oven that will be the centerpiece of your outdoor gatherings for years to come. Let's get started on this exciting journey!
Key Takeaways
- Constructing a cob pizza oven is an affordable and enjoyable DIY project.
- Key materials include clay, sand, straw, and water, with many budget-friendly or free options available.
- A solid foundation is crucial for the longevity of your cob oven.
- Insulation is essential for maintaining high temperatures and efficient cooking.
- Personalizing your oven with artistic touches makes it a unique addition to your outdoor space.
- Regular maintenance and protection from the elements can extend a cob oven's life.
If you are ready to give it a go, check out our free online oven building class.
Gather Your Supplies: Starting Your Cob Pizza Oven Project
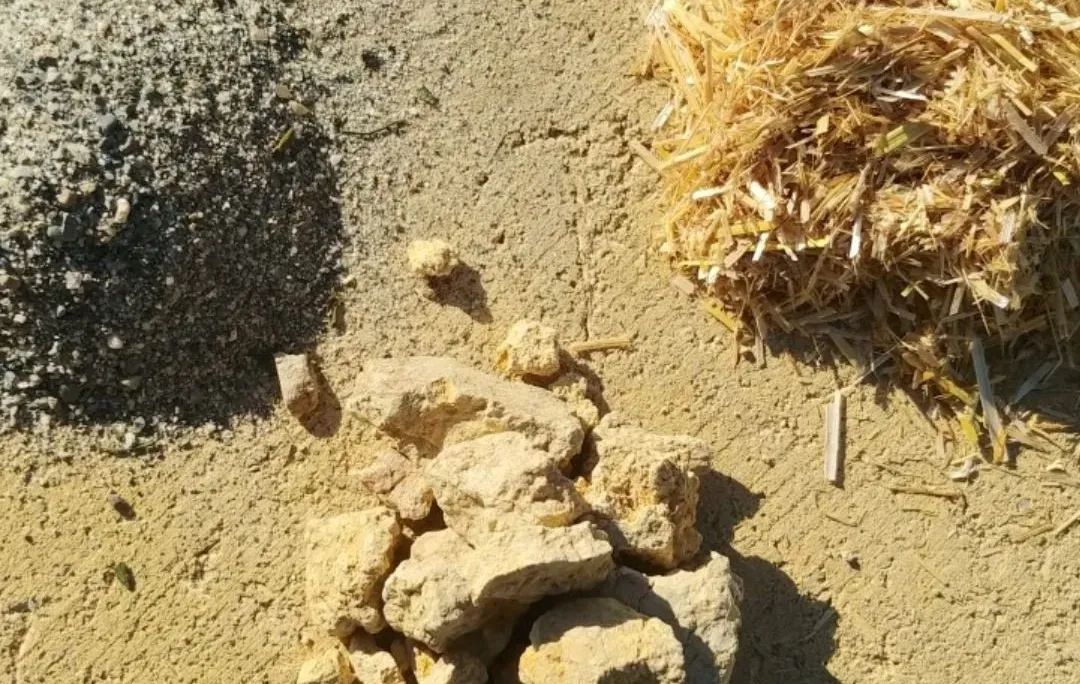
Before diving into construction, you’ll have to gather all the necessary materials. You'll need clay, sand, straw, and water to create the cob mixture. These are typically easy to find and often can be sourced for little to no cost. Local contractors and building merchants have sand, and straw can usually be purchased from a local supplier. As for clay, it can often be dug up from your own backyard or nearby excavation sites, but make sure you have permission if it's not your property.
Essential Materials List
- Clay – the binder in our cob mixture.
- Sand – adds structure and prevents the cob from shrinking too much.
- Straw – gives tensile strength to the cob.
- Fire resistant bricks – for the base (we suggest you use fire bricks, which will be the biggest cost of your oven)
- Materials for your base
- Tape measure, string, pencil, newspaper
- Tarp for stomping the cob on
Finding Budget-Friendly Substitutes
One of the beauties of cob ovens is their flexibility in materials. If you're on a tight budget, consider these alternatives:
- Use reclaimed bricks for the oven floor – often free or cheap, if you are willing to clean them up.
- Repurpose glass bottles as insulation.
- Scour Craigslist or local classifieds for free or cheap building materials for the oven base.
Laying the Foundation: First Steps to a Brilliant Bake
Just like any great endeavor, a solid foundation is key. You'll want to choose a spot in your yard that's level, accessible, and safe for a fire-powered structure. Make sure it's a comfortable distance from your house and not under any overhanging branches.
Choosing the Perfect Location
Think about convenience, safety, and aesthetics when selecting the location for your cob oven. It should be a place where you can easily gather with friends and family to enjoy the fruits of your labor. It also is useful to place the oven facing away from prevailing wind. We recommend your oven is under cover and protected from the elements. Some people choose to wrap their oven when its not in use, others build small roofs over them, others experiment with plasters (but this approach is often not as successful).
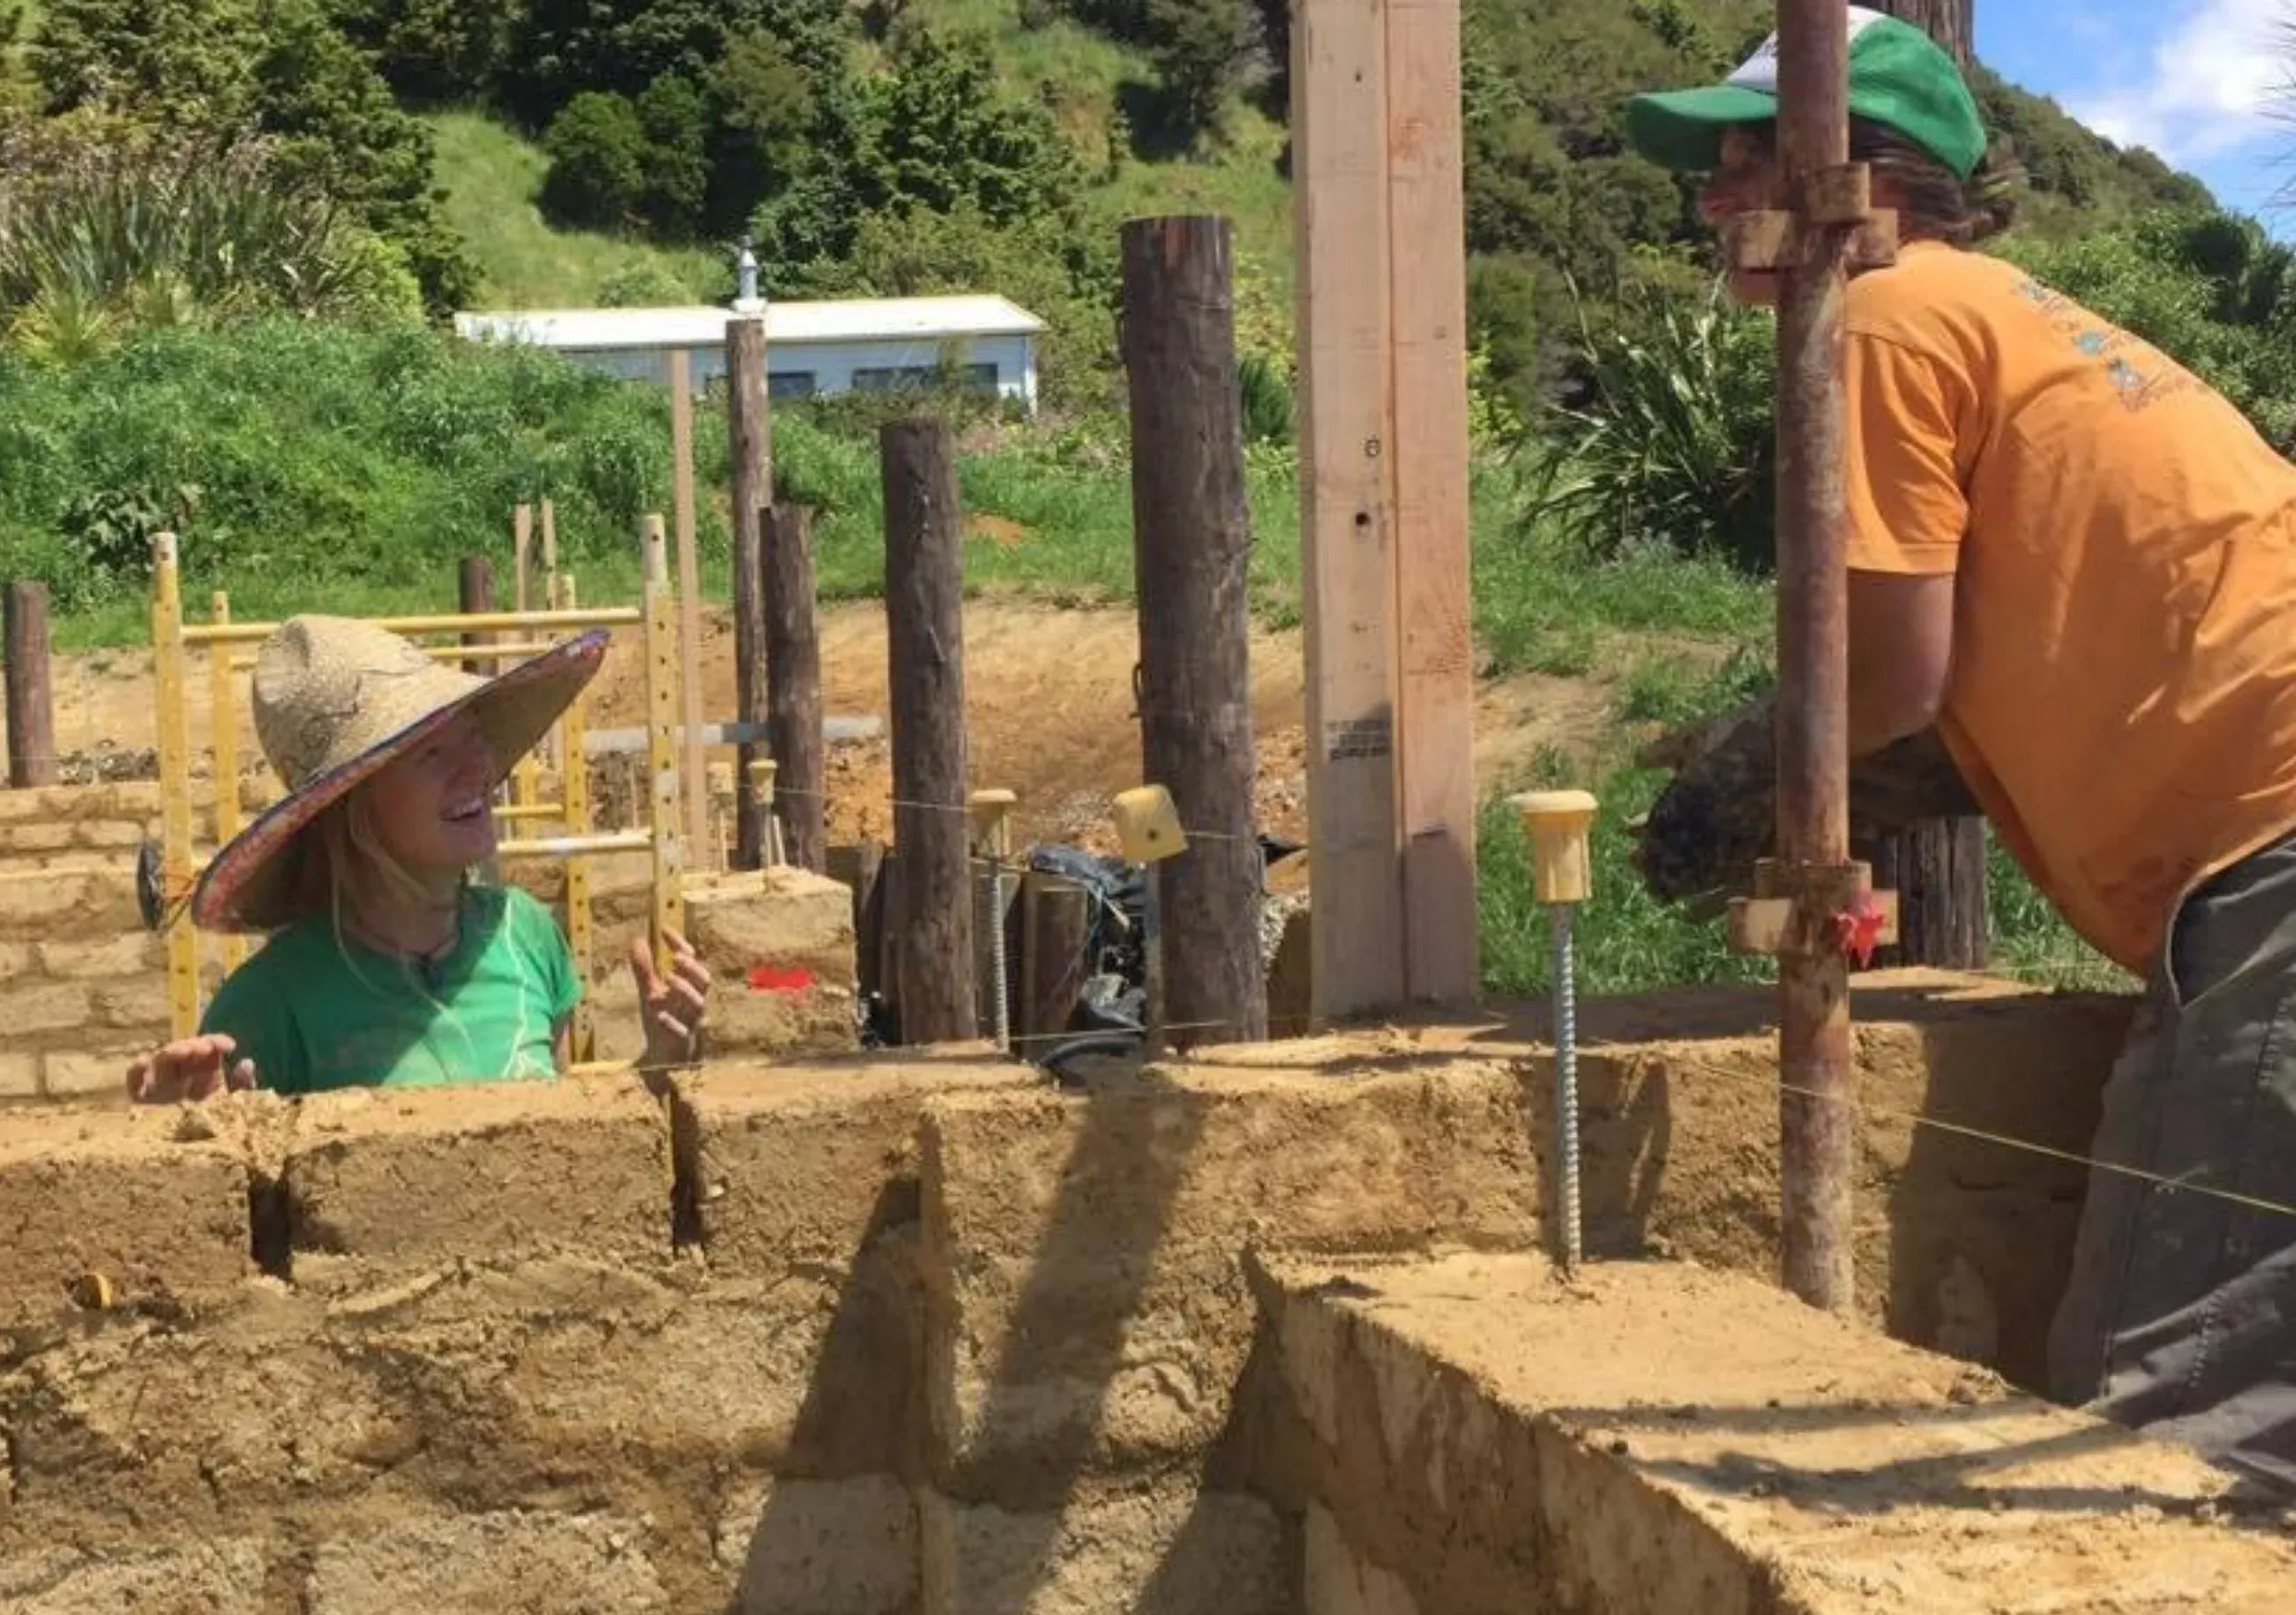
DIY Foundation Building Simplified
Building a foundation might sound daunting, but it's quite straightforward. Start by marking out the area, then dig down about 6-10 inches to create a level base. Fill it with gravel for drainage and tamp it down firmly.
Oven Base for better working height
On top of this, build a solid structure that can support your oven and bring it up to the desired working height.
Remember, the size of your foundation will determine the size of your oven, so plan accordingly. A standard oven interior is about 23-25 inches across, or 600mm, which requires a foundation at least 43 inches in diameter, or 1100mm, to accommodate the oven walls and insulation.
For the next steps we'll dive into the hands-on fun of mixing and shaping your cob oven. Get ready to roll up your sleeves – the adventure is just beginning!
Insulation and Efficiency: Maximizing Your Oven's Performance
Insulation is the secret ingredient to a high-performing cob oven. It's what keeps the heat in and ensures your pizzas cook evenly and quickly. Without proper insulation, heat escapes, and your oven will struggle to reach the high temperatures needed for that perfect crispy crust.
Clever Use of Recyclables for Insulation
Insulating doesn't have to be expensive. In fact, you can use recyclable materials to keep costs down. A layer of pumice or recycled glass bottles below the brick hearth where you will be cooking, is a good idea. As is wrapping the entire oven in an insulation layer, so that you can maximize heat retention.
Another budget-friendly insulation option is to use a mix of straw and clay, known as 'light clay.' You could also use sawdust or wood shavings and clay. You just have to get the mix to a consistency that holds its shape while you are building. Once the mix dries out, it will become stronger, and you will finish it with a layer of plaster.
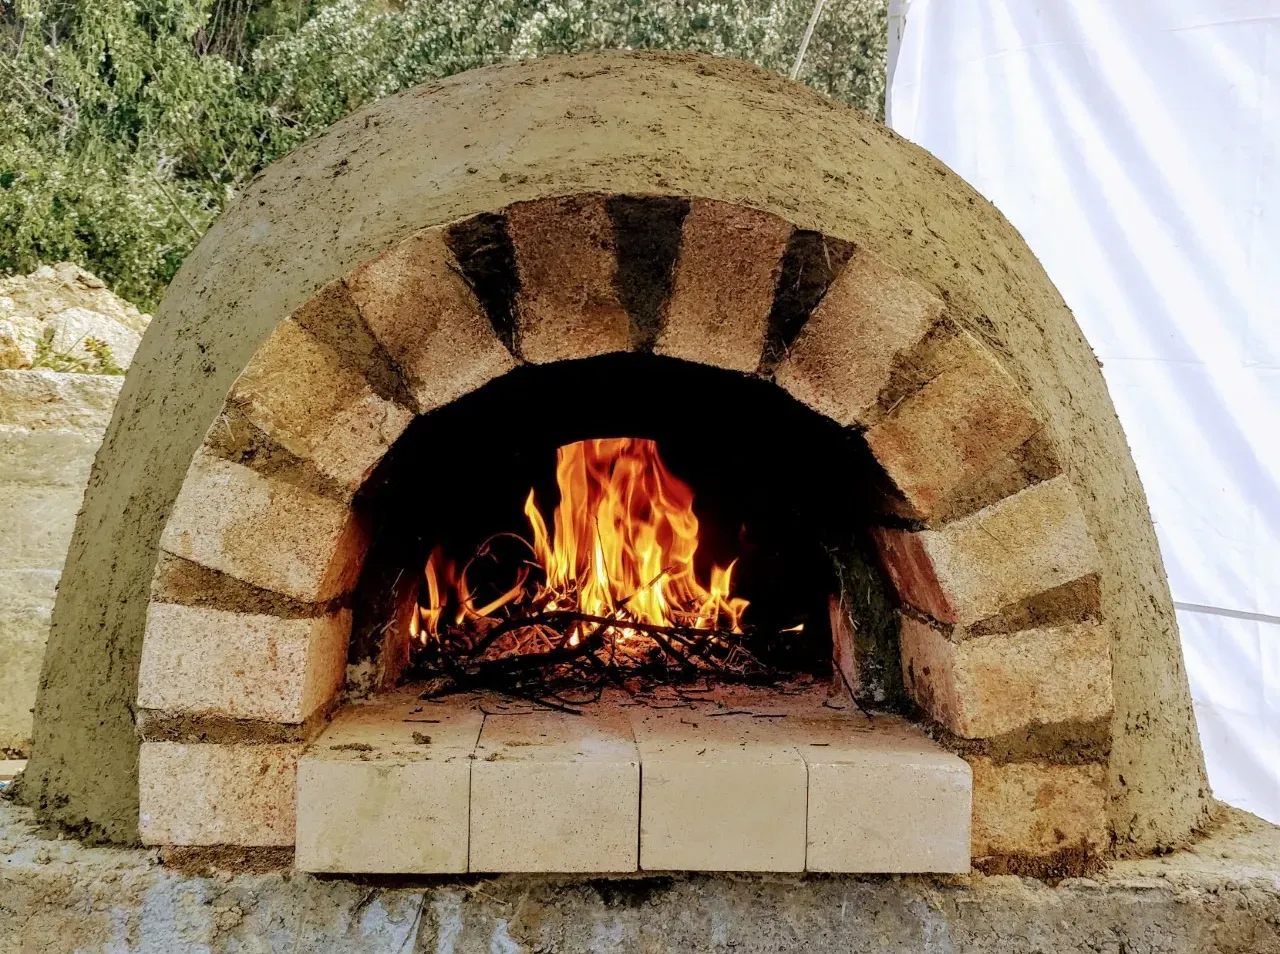
Building the Cob Oven: Layering for heat retention and performance
Now that you have built and insulated your base, and gathered your materials, it is time to build the actual oven.
Forming the Hearth and the Dome
Start by laying a thin layer of sand over the insulation at the top of your base to create a smooth, level surface for your fire bricks, which will form the floor of your oven.
Lay the fire brick hearth nice and level, making sure the bricks are touching each other tightly, and that they are tapped into the sand blinding to create a stable surface. Then use a pencil and string like a compass, to mark the footprint of your oven dome to the desired diameter.
The dome of the oven is shaped from well-packed sand. We like using sandpit sand for this, as it holds its shape. This sand shape will support the cob you are placing to build the oven, and will later be dug out to reveal the void of your fire chamber. Put effort into shaping the sand form evenly and to a height that is around 60-70% of your oven diameter.
> Very Important: Take note of this measurement, as it will later determine the height of your door opening.
Layering for Long-Lasting Warmth
Once you have the sand form down, cover it with sheets of wet newspaper to separate it from the cob, which you will be placing next.
Next up is the thermal layer of your oven. This typically is a mix of 1 part well-stomped clay, and 3 parts sand. Make sure this mix isn’t too wet, or it will slump. You want it to be wet enough to stick together, and dry enough to hold its shape. Start building the first layer of your oven, building up from the base in lifts, making sure you keep an even thickness going. A good rule of thumb is to make this layer about four fingers wide. Work all the way up, until your entire sand form is covered.
The Oven Door Height is your only crucial measurement!
At this point you want to mark out where your oven door will go. Some people build a brick arch for the door entry, but you can also form the door arch with cob. The main point to observe is that the door height has to be exactly 63% of your internal oven height (so the height of your sand form).
Then it is time to apply the insulation layer. This typically is a fiber rich mix. You can use straw or wood shavings, whatever you have available, and reduce the amount of sand. Keep building the oven out with a thicker layer of this mix, up to two hands’ width in one go. Shape it working from the base up, missing the entrance and shaping itself around the oven arch. You can also use this mix to give your oven the desired shape.

Check out our free oven building class to learn how to prepare and mix the materials or read our other blog post to learn about soil testing and developing well-performing mixes.
Personal Touches: Adding Character to Your Cob Oven
Now that the structure of your cob oven is taking shape, it's time to add some personal flair. This is where you can let your creativity shine and make the oven truly your own.
Decorative Techniques That Tell a Story
While the cob is still wet, you can sculpt and mold it into any shape or design you like. Consider adding a decorative archway, a mosaic with stones or tiles, or even sculpting mythical creatures into the structure. Not only does this add character, but it also tells the story of who you are and what you love.
Tools You Already Have for Artistic Flair
You don't need special tools for these embellishments. Common items like spoons, stones and small trowels will be all you need to shape the oven. Give your oven the rough shape you want, and get back to the details once it is dry. You can work with decorative plasters as a last step.
Drying and Curing: The Final Countdown to Pizza Time
You should empty out the sand to reveal the oven void as soon as possible. This will prevent shrinkage cracks as the oven dries and will speed up drying from the inside. After all your hard work, it's tempting to fire up the oven and start baking. This is a contested part in the oven building community, but we recommend you be patient. Drying and curing are crucial steps you shouldn’t skip. If you rush this process, you risk cracks and structural damage to your beautiful new oven.
Patience Pays Off – Curing Your Cob Oven Properly
Curing is a slow, gradual process of drying and hardening your oven. It can take several weeks, depending on the weather and humidity. Once the oven has air dried a bit, start by keeping a small fire burning for a few hours each day, gradually increasing the size and duration over a few firings. This gentle approach allows moisture to escape slowly, preventing cracks.
- Start with small fires to slowly dry out the cob.
- Gradually increase the fire size over several days.
- Allow the oven to cool down slowly after each fire.
Once your oven is fully cured, it's ready for a proper test fire. This is an exciting moment – it's like the dress rehearsal before the big show!
Test Firing Your Oven: A Rehearsal Dinner
Your test fire is more than just a trial run; it's a chance to gather friends and family for a rehearsal dinner. Watch how the oven heats up, how long it retains heat, and how it handles the baking process. This is a perfect opportunity to make any final adjustments and get a feel for how your oven performs. Each oven is slightly different, and you will learn all about yours as you start using it.
Let the Baking Begin: Unleashing Your Inner Pizzaiolo
With your cob oven cured and tested, it's time to start baking! There's something magical about sliding a pizza into a wood-fired oven and watching it cook to perfection in minutes.
Tips for the Perfect Pizza Crust
For that ideal crispy crust, you'll want your oven to reach a temperature of around 750°F (400°C). Use a metal peel to slide your pizza onto the hot oven floor, and then let the high heat work its magic. Rotate the pizza once or twice to ensure even cooking, and in about 2-3 minutes, you'll have a pizza that rivals the best pizzerias.
Remember, managing the oven's temperature is key. If you're cooking multiple pizzas, maintain the fire on one side of the oven and use the other side for baking. This way, you can keep the heat consistent and your pizzas coming out perfectly.
Building a cob pizza oven is a journey of creativity, patience, and skill. But the reward is not just in the delicious pizzas you'll make; it's also in the sense of accomplishment from building something beautiful and functional with your own hands. So gather your materials, round up some friends, and get ready to embark on a DIY adventure that culminates in the ultimate backyard pizza party. Happy building and even happier baking!
FAQ
How long will a cob oven last?
A well-built and properly maintained cob oven can last many years. The lifespan of your oven will largely depend on the materials used, the quality of construction, and how well you protect it from the elements. Here are a few tips to ensure longevity:
- Build a roof or cover to shield the oven from harsh weather.
- Regularly check for cracks and repair them promptly to prevent moisture from seeping in.
- Apply a very fibrous thick lime plaster for extra weather protection, and monitor cracking. A cob oven expands during firing, so cracking will occur. This is why we generally don’t recommend relying on plasters alone for weather protection.
Can I use a cob oven in any weather?
Cob ovens are versatile, but they do best in weather that isn't too extreme. However, with the right precautions, you can use your oven throughout the year:
- Face the oven opening away from prevailing winds.
- In rainy seasons, make sure your oven is well-protected with a waterproof cover or a built structure.
- During cold spells, preheat the oven for a longer period to drive out any moisture that may have been absorbed.
- In very hot and dry conditions, be mindful of fire safety and have a plan to extinguish any unexpected flames.
Adjusting your baking times and techniques to the weather will help you get the best results no matter the season.
What is the best base for my cob oven?
The best base for your cob oven is one that is solid, level, and insulating. A combination of gravel, sand, and fire bricks works well to create a sturdy foundation that can withstand high temperatures. Ideas for oven bases include:
- Mudbrick structure filled with hardfill or built to accommodate firewood
- A metal gabion basket filled with rocks and hardfill
- Stonework filled with hardfill
- 3 shipping pallets assembled and topped with a minimum 4 inches, or 100mm, of concrete pad (if you use this option, you might want to additionally insulate the underside of your concrete)
How can I customize my cob oven's appearance?
Customizing your cob oven is where you can really let your personality shine through. Here are some ideas:
- Use colored glass pieces and broken tiles to create a mosaic on the outside of your oven. We like disguising the mandatory cracks in our designs.
- Sculpt the cob into shapes or figures. Be aware that this might require a substantial amount of extra material.
- Use natural plasters and clay paints to embellish the exterior of your oven.
These personal touches not only make your oven one of a kind but also make the building process even more enjoyable.
How do I control the temperature in my cob oven?
Controlling the temperature in your cob oven is all about managing the fire. Here's what you need to know:
Start with a good-sized fire and let it burn down to embers to heat the oven evenly. Use a metal peel to move the embers to the sides when you're baking pizza. If you need to boost the heat, place small pieces of wood on the smoldering embers and let them catch on fire. Monitor the temperature with an infrared thermometer or by feel you develop with experience.
With practice, you'll get a feel for how your oven heats and how to maintain the perfect temperature for whatever you're cooking.
What else can I bake and cook in my cob oven?
The pizza party is just the start. If you are prepared, you can follow the pizza baking session with bread baking, as the temperature in the oven drops. You will require an oven door to bake bread. After the bread is baked, you could throw in some cake or muffins, as they require lower temperatures, and after that, you could even put in a roast or stew for slow cooking overnight at low temperatures. One firing could be enough for A LOT baking and cooking!
Are you keen to give it a go but need more guidance?
We offer a free online oven building class that includes building plans and the building process in real time. We ran this class live during lockdown, and had people follow along while we were teaching. It was great fun! Since then, many more have built their ovens.
Send us a photo of your oven, if you build one too. And feel free to ask questions here or in our course community.