Casein Paint: How to make Natural Paint from Milk
Casein Paint: How to make Natural Paint from Milk
Dec 28, 2023
Milk paint, an ancient medium, has been making a comeback, captivating DIY enthusiasts and professional decorators alike. It's a solution that's both old-school and on-trend, offering a unique finish that's perfect for achieving that shabby chic or a modern minimalist look. Overall, casein paint is a versatile, durable, easy-to-use, non-toxic, and inexpensive painting medium that provides a perfect base for pigments.
Let's dive into the world of milk paint and discover how it can breathe new life into your spaces and what role it plays in natural building.
Key Takeaways
- Milk paint is a natural, eco-friendly option for home decor projects.
- It's perfect for creating a vintage or distressed look on furniture and walls.
- Preparation is key - choosing the right surfaces and understanding the mixing process will ensure success.
- Milk paint is customizable, allowing for a wide range of colors and effects.
- With the right technique, milk paint can be durable and long-lasting.
What Exactly Is Milk Paint?
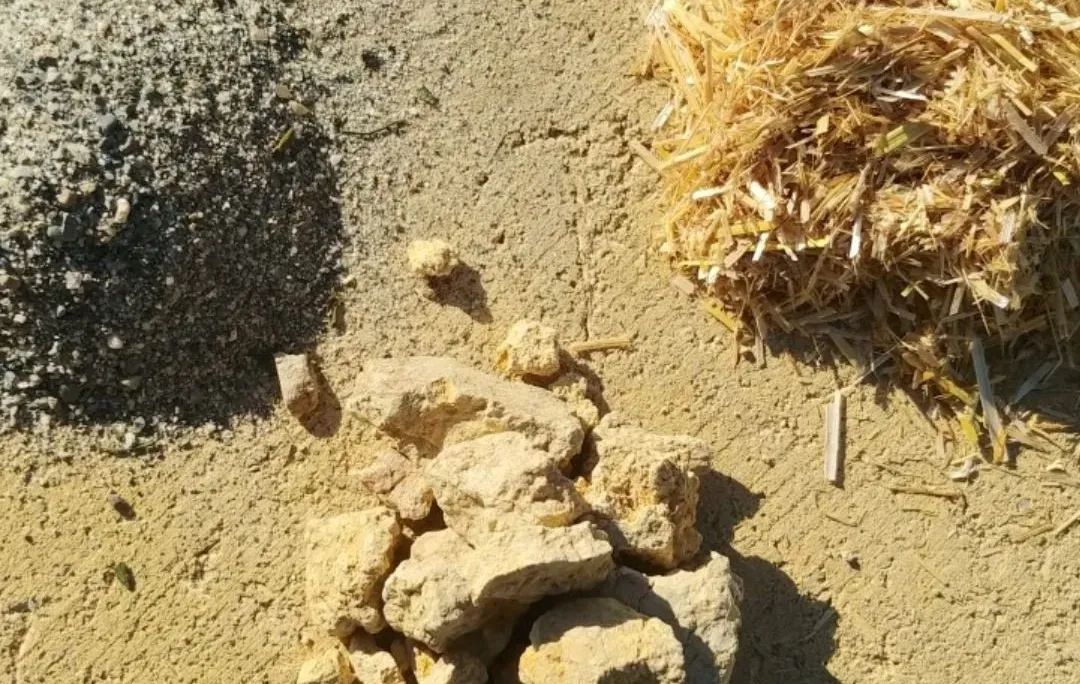
Milk paint is a nontoxic water-based paint. It's made from simple ingredients: milk protein (casein), hydrated lime, and natural pigments. Some recipes also use a small amount of borax. The result is a fully biodegradable and eco-friendly product that provides a distinctive matte finish. Whether you're painting your kitchen cabinets or your earthen plasters and walls, milk paint can be your go-to medium for a beautiful look and breathable finish.
The Basics: Composition and History
Milk paint has a rich history, dating back thousands of years. It was used by ancient Egyptians and has been found on cave paintings. This time-tested formula has stood the test of time due to its simple, natural ingredients. The milk protein acts as a binder, lime gives it durability, and natural pigments offer a depth of color that synthetic paints often can't match. This blend not only provides a strong adhesion to porous surfaces but also allows the paint to be absorbed deeply, creating a finish that becomes one with the surface.
Eco-Friendly Aspects and Health Benefits
Today we're more conscious than ever about the products we bring into our homes. Milk paint ticks all the boxes for those looking to reduce their environmental footprint. It emits zero volatile organic compounds (VOCs), making it safe for indoor air quality and ideal for children's furniture or anyone with sensitivities to chemicals. Plus, its biodegradable nature means it won't contribute to pollution, offering peace of mind for eco-minded decorators.
Preparing for Your Milk Paint Project
Before you start painting, a little prep goes a long way. The surface you choose can make or break your project. Milk paint adheres best to porous materials like raw wood, earth and natural plaster, but with a bonding agent, you can paint over previously finished surfaces too. A smooth, clean, and dry surface will ensure the milk paint sticks properly and shows off its beautiful, chalky finish.
Selecting the Right Surfaces
If you're going for a naturally worn look, wood surfaces are your best friend. Think chairs, dressers, or even floors. For a more modern twist, milk paint can also work wonderfully on walls with a porous surface, giving a room an artisanal feel. Interior earthen and lime plaster surfaces can really be enhanced with milk paint. You can apply it in a thicker, covering coat, or apply multiple thin coats to achieve a semi-transparent lasure finish with lots of depth.
Read on to be guided through every step of the paint preparation to ensure your home decor projects turn out beautifully. With the right approach using milk paints will be a satisfying creative project that saves you money at the same time.
Gathering Supplies and Setting Up
Where to start? Milk paint is made from a few simple ingredients or can be bought as a ready-mix powder. You'll need:
- Acid Casein Powder (or skim milk and vinegar)
- Hydrated lime or Borax
- or ready-made milk paint powder
- two containers for mixing
- Water (both hot and cold)
- a stirrer (whisk or paint stirrer on a drill)
- a fine strainer or mesh
- your usual painting tools
Cover your workspace with a drop cloth to catch any spills, and wear old clothes – milk paint is natural, but it's still paint. Also, make sure you wash anything that has spilled milk paint on it. Since it is milk, it does go off and can get smelly if it doesn’t dry fast.
Mixing Your Own Batch of Milk Paint
Understanding the Ingredients
Milk paint comes in a powdered form that you mix with water. The base is acid casein, a protein found in milk, which gives the paint its name. Lime is added to act as a hardener, and natural pigments provide the color. Some formulas also include a touch of borax as a preservative.
You can also make your own milk paint from scratch, using the same ingredients and following the instructions below.
Mixing Instructions when using ready-made Milk Paint
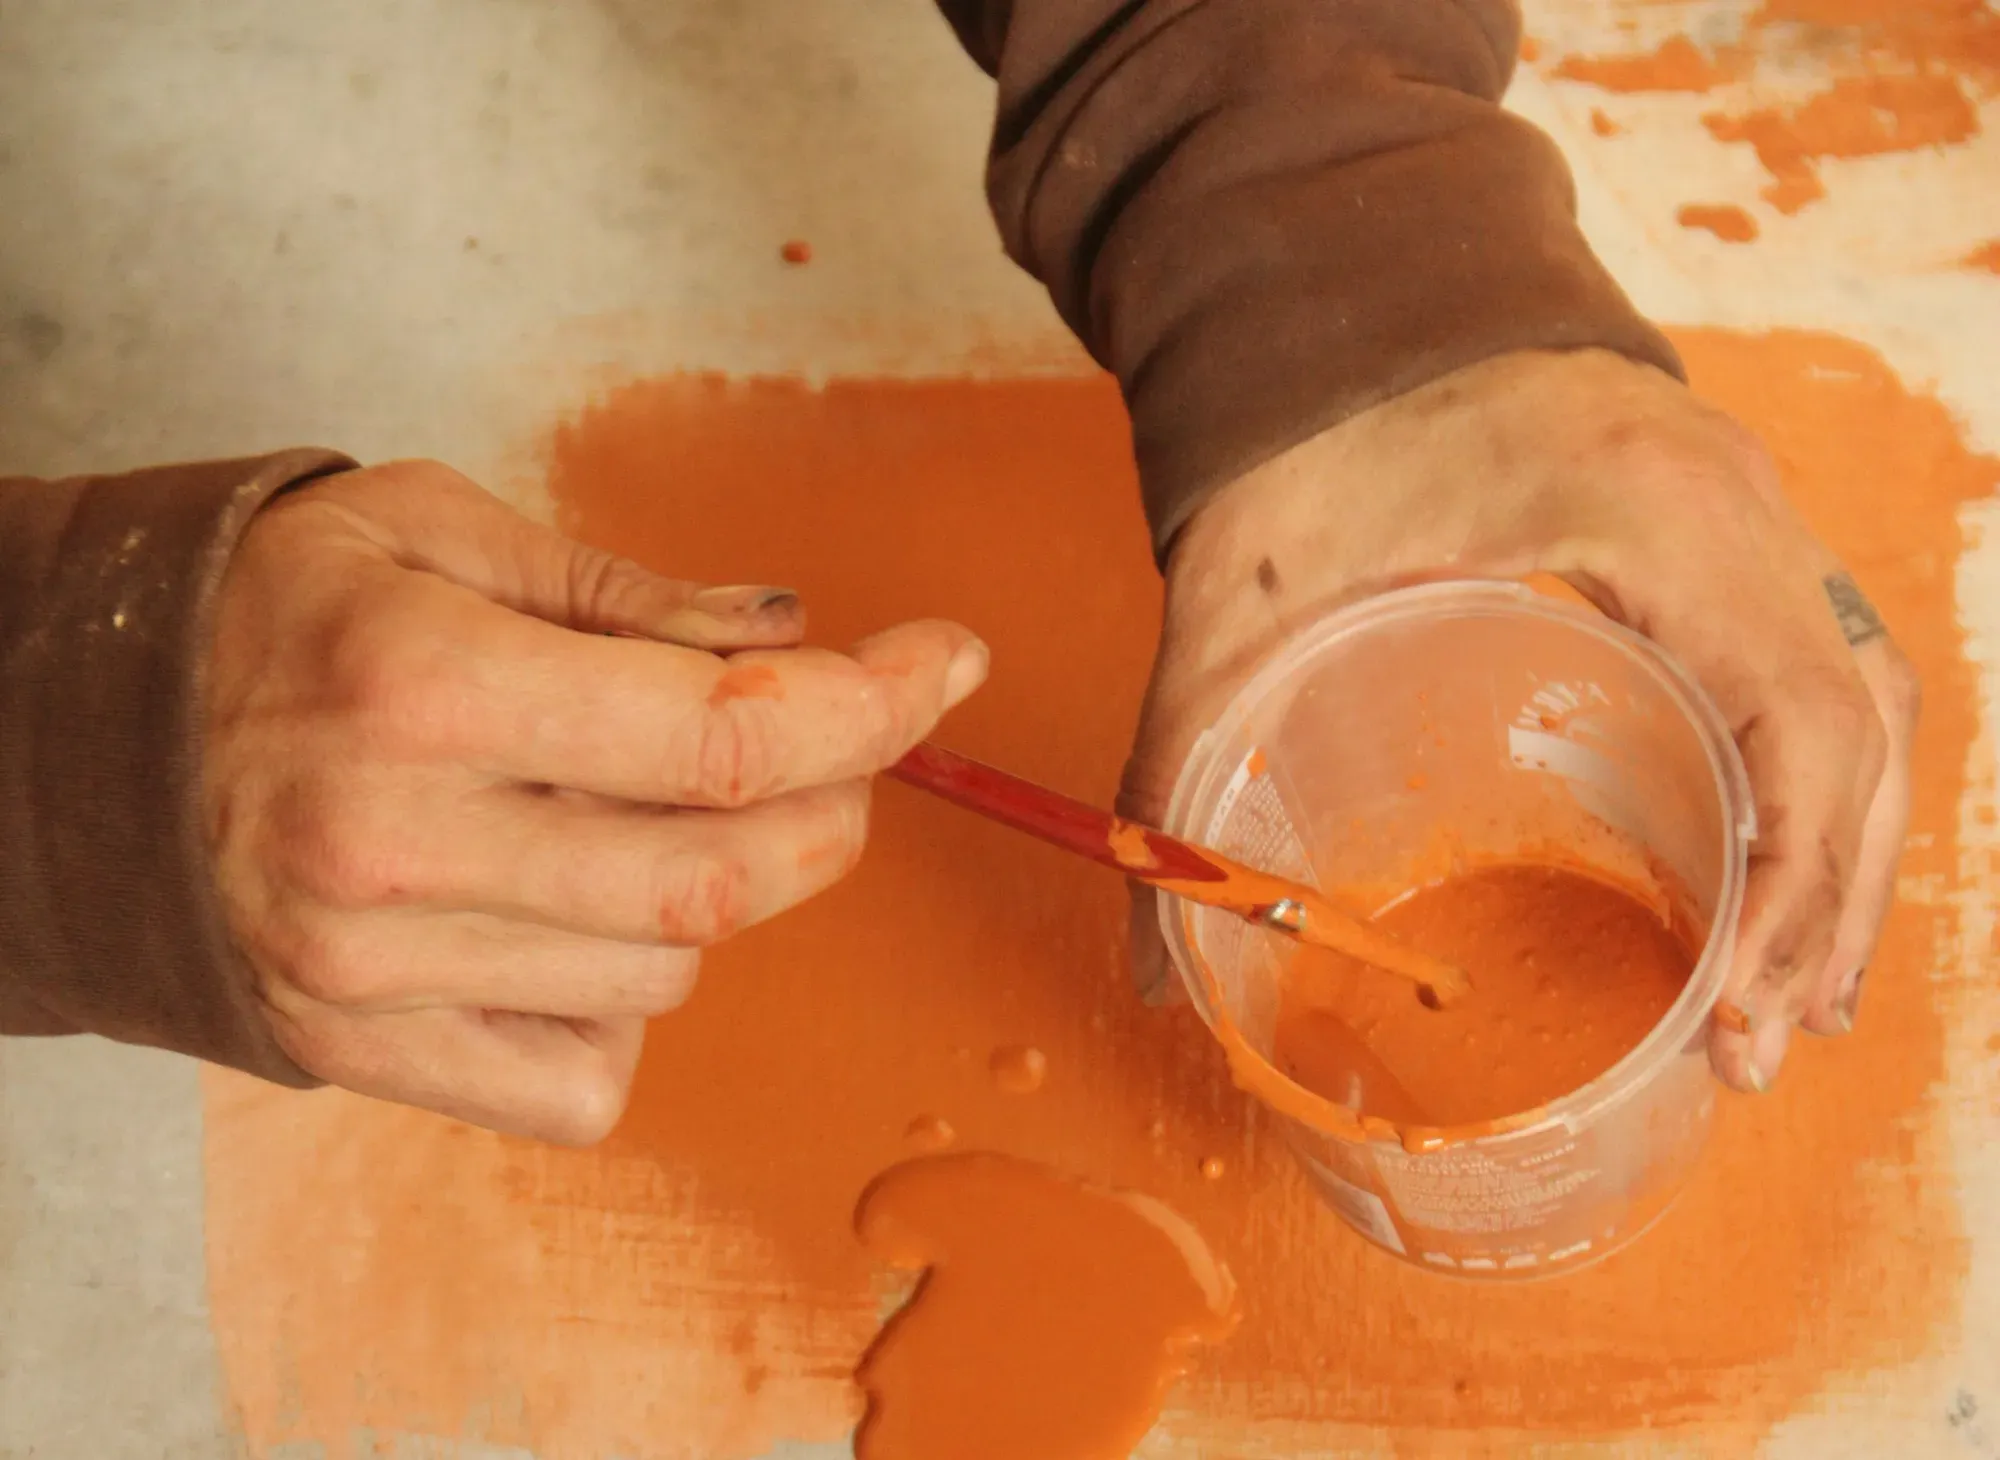
When using ready-mix milk paint powder, preparing the paint is like making a batch of pancakes – the right consistency is crucial. Start by combining one part water to one part milk paint powder. Stir the mixture until it's smooth, with the consistency of cream. If it's too thick, add water a little at a time. Too thin? Sprinkle in more powder. It is important to let it sit for a few minutes, as it will thicken up and you need to give it one final stir.
Mixing Instructions when making Milk Paint from Scratch
If you want to make your own milk paint from scratch, you can either use acid casein powder, or make your own curds from skim milk with vinegar. This separates the milk protein from the whey. We prefer using casein powder, as it has a long shelf life and is more economical.
To prepare the paint, follow these steps:
- Measure 3 parts (by weight) dry casein powder and mix with a good amount of cold water. Soak for at least 30 minutes and better overnight.
- If you are adding pigments, slake the pigment in a bit of water and add it to the casein.
- Measure 1 part (by weight) borax or hydrated lime. These alkaline substances added to the casein will transform the mix into a glue. If you are using borax, dissolve in hot water, if using lime, dissolve in cold water.
- While stirring the casein vigorously, add the alkaline component (borax and/or lime). Keep stirring to avoid lumps from forming.
- If you get lumps, pour the paint through a strainer.
- Depending on what surface you are painting, you may want to keep the consistency thicker (over timber) or thin it with little water to make it runnier (over porous wall surfaces).
- It generally is better to apply a few thin coats rather than a thick one.
Application Techniques for Stunning Results
Applying the First Coat
Applying milk paint is an art in itself. Dip your brush gently into the paint, paying attention not to overload it. Apply in long, even strokes or criss-cross strokes. Experiment on a sample first. If you're working on furniture, follow the grain of the wood. The first coat will look streaky, but don't worry – this is just the base. It's setting the stage for a second coat that will bring the rich, opaque color you're aiming for. Allow the first coat to dry completely, usually about 30 minutes, before moving on to the next step. If you are working on plaster, apply one coat and let it dry overnight before painting again.
Achieving the Perfect Finish
Once your second coat is dry, stand back and admire the transformation. Milk paint dries to a velvety, matte finish that's touchable and full of depth. If you desire a smoother surface on timber, lightly sand between coats. For protection and sheen, seal your masterpiece with a finishing oil or wax. It's this final touch that will make your milk paint project truly stand out on timber, but it isn’t recommended over plaster as you will want to keep the surface breathable.
Distressing for an Antique Look
For those who adore the charm of vintage decor on timber, milk paint is a dream come true. To achieve that time-worn patina, apply your milk paint and let it dry. Then, take a piece of sandpaper and gently rub it over the edges and raised details where natural wear would occur. This process, known as distressing, reveals the underlayer, adding depth and character. It's a simple technique that results in a piece that looks like it has a story to tell.
Color Mastery with Milk Paint
One of the joys of working with milk paint is the ability to play with color. This isn't just about choosing a shade from a chart; it's about creating a hue that's uniquely yours. Whether you're looking for a sun-washed blue reminiscent of a seaside cottage or a deep, earthy red that echoes the tones of autumn leaves, milk paint allows you to become the artist of your home's color palette.
Mixing Pigments for Custom Shades
Mixing pigments to create custom shades is simpler than you might think. Start with a base color and slowly add in the pigment of your choice. Mix thoroughly to ensure an even color throughout. Remember, a little goes a long way, so add pigments gradually. Test your new color on a piece of scrap wood or a hidden section to ensure it's exactly what you envisioned before committing it to your project.
Playing with Opacity and Layers
With milk paint, the magic is in the layers. You can control the opacity of your paint by adjusting the ratio of powder to water. For a more translucent look, add more water; for a more opaque finish, use less. Layering different colors can also give you stunning results. Try a base coat in one color and a top coat in another, then distress the surface to reveal hints of the underlying shade. It's a playful way to add dimension and interest.
Secrets to Milk Paint Durability
While milk paint has a reputation for its beautiful matte finish, it's also surprisingly durable. When working on timber, you might want to finish off with a sealer to give the surface extra protection and to play with sheen.
Optional Sealers for Milk Paint
There are several sealer options to choose from:
- Wax: Provides a soft sheen and enhances the color depth. It's perfect for low-traffic areas and furniture.
- Oil: Linseed or hemp oil can penetrate the paint, providing a strong and more water-resistant finish.
Consider the look and function of your piece when selecting a topcoat, and always test it on a small area first.
Long-Term Care and Maintenance
Once your milk paint project is complete and protected, it will need only minimal maintenance. Clean surfaces gently with a damp cloth, avoiding harsh chemicals that can strip the finish. Reapply wax every few years to maintain its luster. Treat your milk-painted surfaces with care, and they will remain vibrant and beautiful for years to come.
Problem-Solving Common Milk Paint Issues
Fixing Chipping and Flaking
Chipping and flaking can give character to a piece, but sometimes it's not the look you're going for. If your milk paint isn't adhering as it should, it might be due to a surface that's too slick or not properly prepped. To fix this, lightly sand the area to give the paint something to grip onto. This usually isn’t an issue over porous surfaces such as earthen plaster, which receives the milk paint beautifully if it is applied thin enough.
Dealing with Color Inconsistency
Color inconsistency can be a hiccup, but it's also an opportunity to embrace the unique charm of milk paint. If you're aiming for a uniform look, make sure to mix your paint thoroughly to distribute the pigment evenly. If you've mixed a large batch, keep stirring as you work to prevent the pigments from settling. Make up enough paint to last you for your entire project, as it will be hard to exactly reproduce what you have done before.
Transforming Spaces with Milk Paint
Refreshing Furniture with a Splash of Color
Revitalizing an old piece of furniture with milk paint can be incredibly satisfying. Whether it's a chair that's seen better days or a dresser that's lost its luster, a fresh coat of milk paint can make it the centerpiece of any room. Choose a color that pops and complements your decor, or go for a classic white for a clean, timeless look. Apply your milk paint, let it dry, and then add a finishing coat for durability. The result is a piece that not only looks new but also has a story to tell.
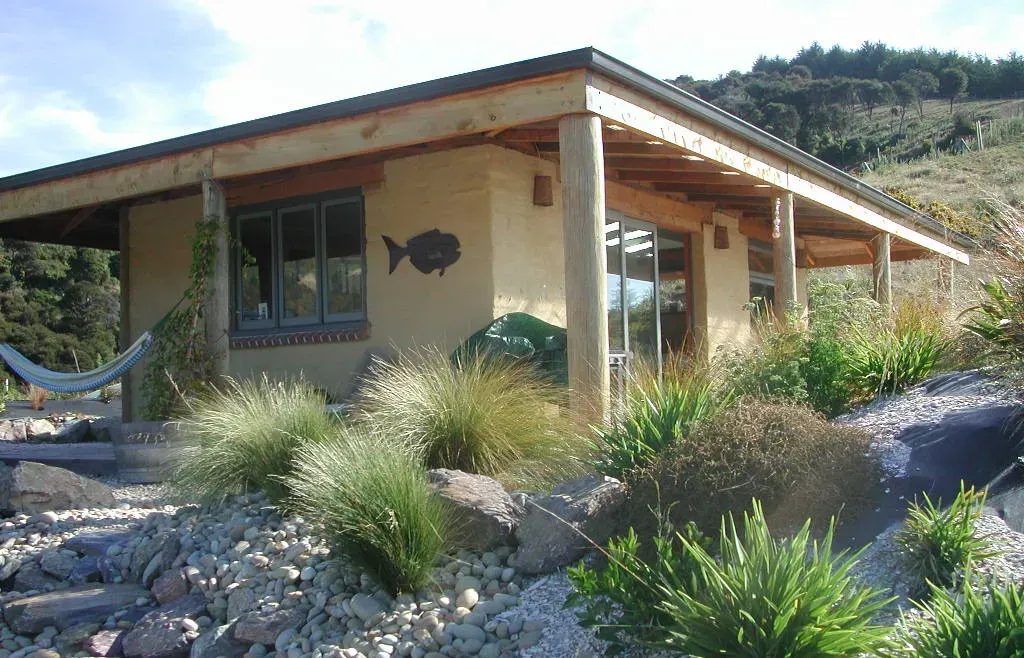
Painting Beautiful Natural Walls
Milk paint isn't just for furniture; it's also fantastic for porous wall surfaces such as earthen or lime plasters. Milk paint's matte finish provides a depth of color that's hard to achieve with regular latex paint, and is much more compatible with natural wall materials because it is breathable.
FAQ
Is Milk Paint Durable for High-Traffic Areas?
Yes, when sealed with the right topcoat, milk paint can withstand the hustle and bustle of high-traffic areas.
Can Milk Paint Be Used Outdoors?
We don’t recommend using milk paint outdoors, unless it is well protected from the elements.
What Surfaces Should Be Avoided with Milk Paint?
Milk paint adheres best to porous surfaces. Avoid using it on metal or plastic without a bonding agent, as it may not stick well. Also, be cautious with heavily varnished surfaces; sanding or a bonding agent will be necessary for proper adhesion.
How Does Milk Paint React to Different Topcoats?
Milk paint reacts well to a variety of topcoats. Wax and oil will give a soft, natural sheen, but should only be used where breathability isn’t a desired feature. Always test your topcoat on a small area first to ensure compatibility.
Is Milk Paint Breathable?
Yes it is, but only if you don’t apply a sealer over the top of it. Its breathability is what makes it especially compatible with surfaces such as earthen plaster. Milk Paint will harden natural plasters and increase wipe ability.